Have you been looking for printable labels for toy storage bins? Here’s a tutorial on how to create your own.
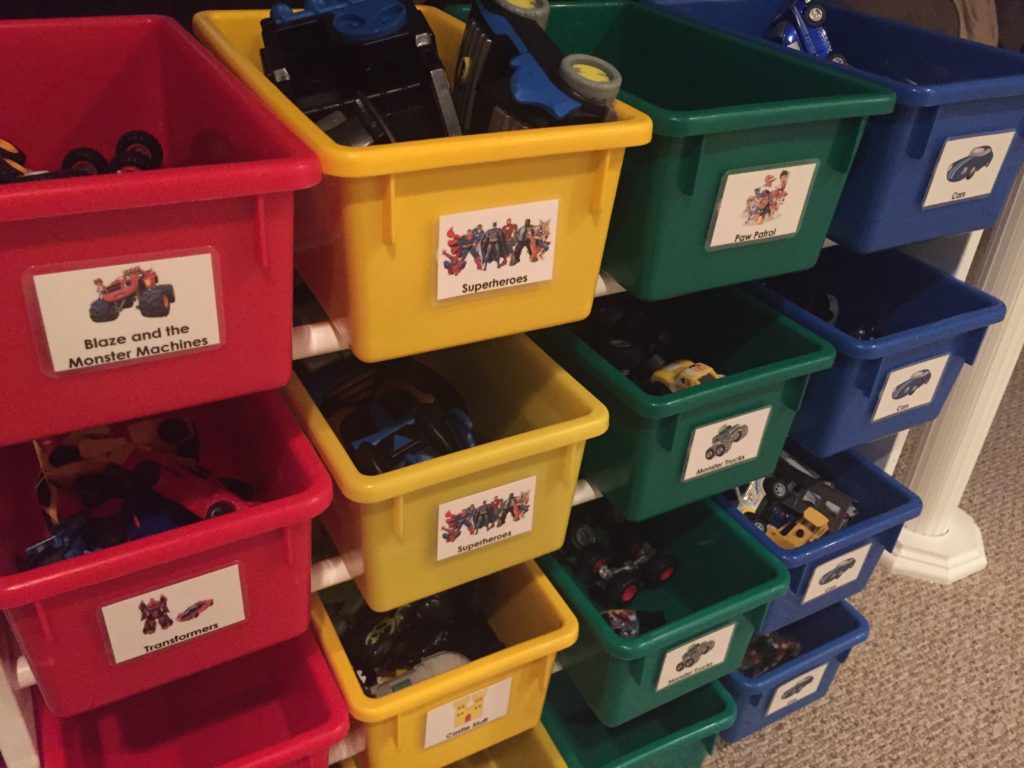
I love organizing. Like I said in the DIY charging station tutorial post, I think it goes back to my German roots. Whatever the reason, I’ve struggled to keep kids’ toys organized. They tend to take over the house. Luckily we found this awesome toy storage bin holder at a garage sale recently. I painted it and cleaned up the storage buckets but really wanted to help the kids keep their own toys organized so I decided to make them printable labels for the toy storage bins. Here’s a tutorial on how I made them so you can make your own too!
Note: This post may contain affiliate links.
Materials List
- Toy Storage Bin Organizer
- Cardstock
- Lamination
- Laminator and Laminating Pouches or
- Self-Laminating Sheets (if you don’t have access to a laminator)
- Command Strips or Double Sticky Velcro Tabs
Optional Tools
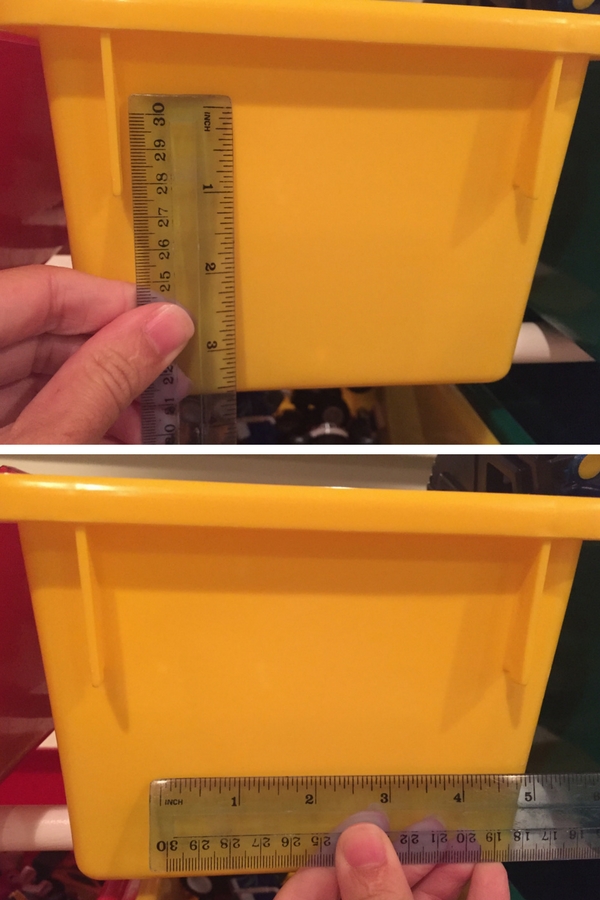
1. Decide Label Size
First you’ll need to decide how big you want to print your labels. This may change based on the size of the toy storage bins or boxes you’re labeling. For our toy bins I decided to make labels 2″ tall by 3″ wide.
2. Create New Word Document
Open Microsoft Word and select blank document. For our purposes it’s helpful to be able to see a ruler next to our document. If you don’t see a ruler on the top and left of your screen go to the view menu. In the show section make sure ruler is checked.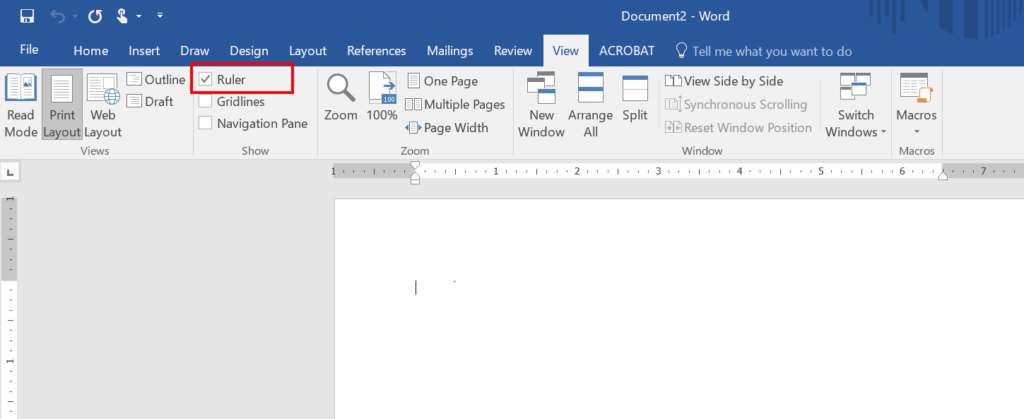
Before we get started let’s create a name for the file and save it. Then, as you work, periodically hit save to save your work. It’s always good to save periodically in case the computer decides to crash or you close the program accidentally. Click file to open that menu and select save as. Then, select the folder where you’d like your file saved and create a name for the file. I called mine toy storage bin labels.
See Also: How to Use Microsoft Excel to create a Password Keeper (with a Free Template)
3. Create Table to Use as a Template for your Labels
Go to the insert menu at the top of the screen, click on table and insert table.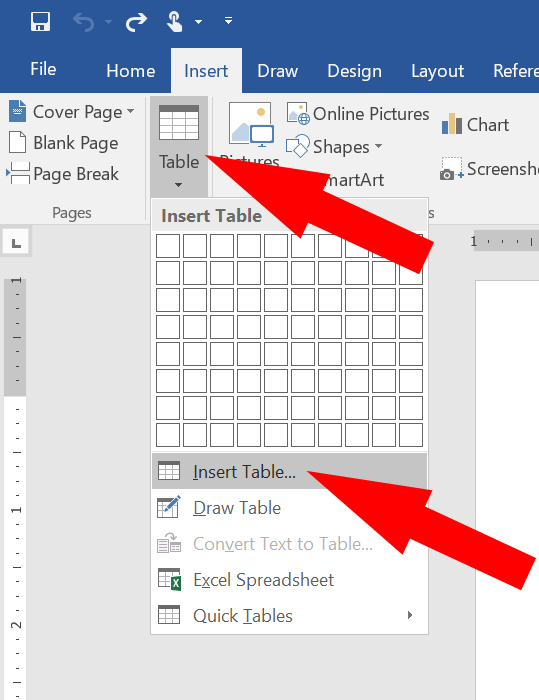
In the top section select 1 column and 1 row. In the section labeled AutoFit behavior click on fixed column width and enter the width of the labels you’d like to create. Then click OK.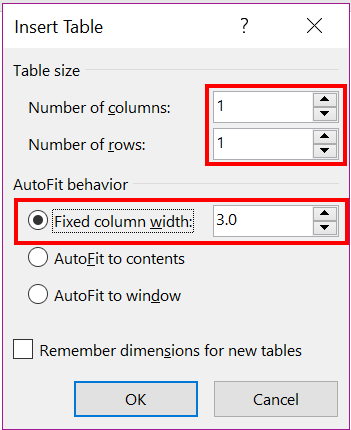
You’ll now have one rectangle in your document, it’s actually a table of one row and one column. Click on the layout menu under table tools. You should see that your table width is the width you want your label. Now change the column height so it’s the height you want your labels. I changed my column height to 2″. You’ll now see that your rectangle is the size your label will be, 2″x3″.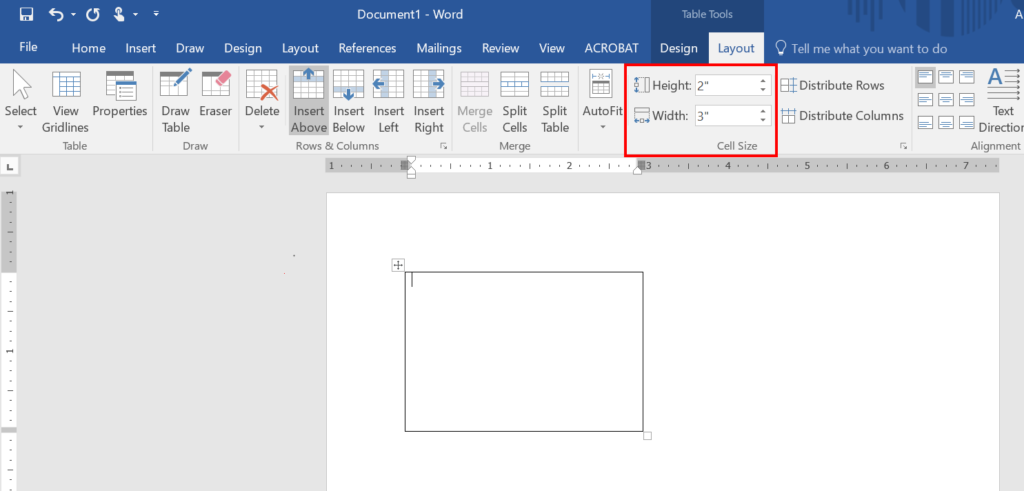
While you’re still in the table tools, layout menu click insert right to add a column to the right. If you are making smaller labels and it looks like you have enough room for a third column click insert right again. Continue until you’ve run out of space on the width of the paper. (Note that printers don’t typically print to the edge of the paper so the width at the top will show the usable printing area based on your margins. This is why it doesn’t show 8.5″.)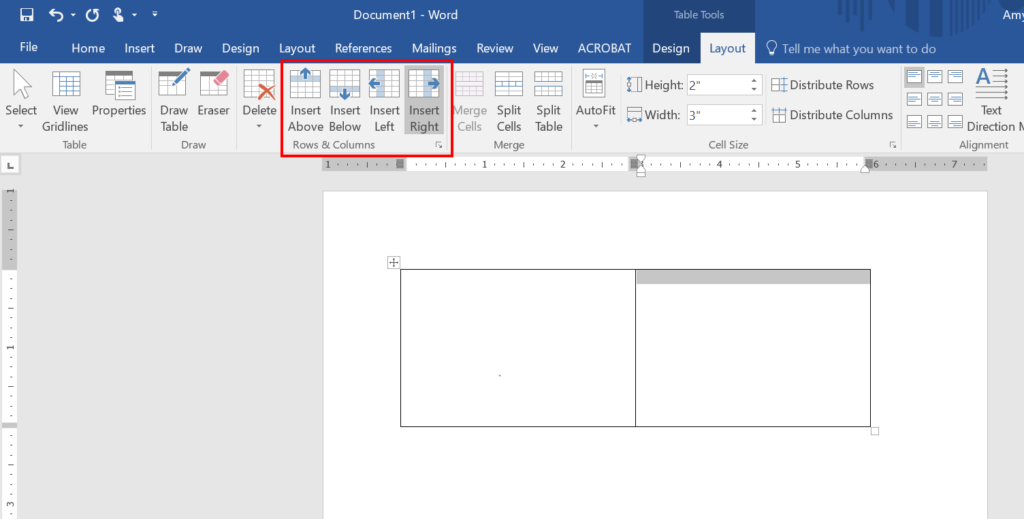
Now click insert below to add another row to your table. Again, continue to click until you’ve filled the page. If you add a row and it pops over to page 2 then it won’t fit on the first page and click undo to delete that row. When you’re done you should have a table that fills most of your page. We can now use this table as a guide to create our toy storage bin labels.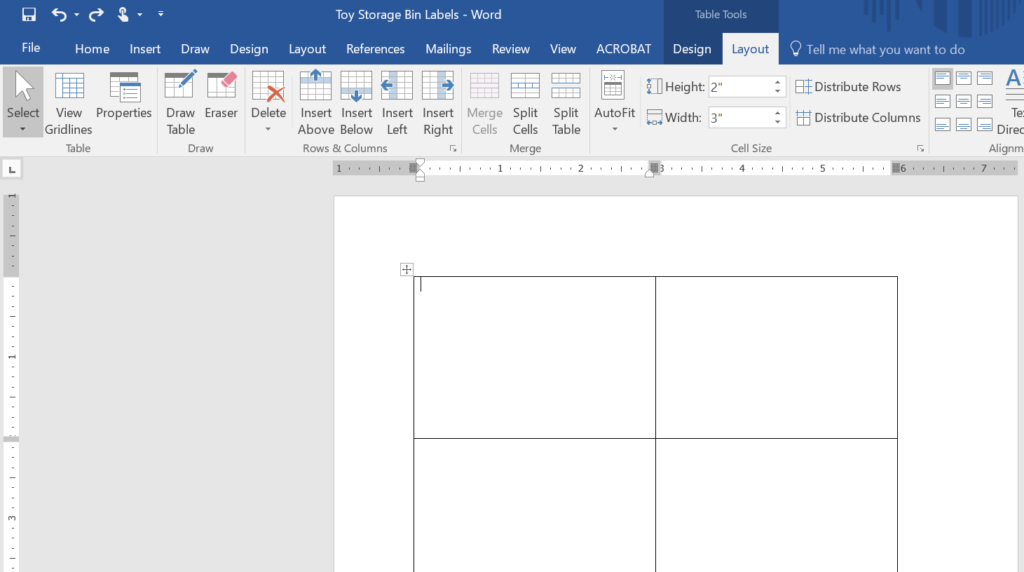
4. Design Toy Bin Labels
I’ve decided to use both pictures and words on my toy bucket labels. My little guy isn’t a reader yet and the older one is just starting to read so I want to include pictures on the labels. But, it’s never too early for them to practice letters and reading so I like the idea of also including words.
I’d like to have the text at the bottom of the labels and a picture above the words. So, I’m going to start by aligning the text in the cells to the bottom of the cell, centered across the width. To do this, first select the entire table by clicking on the icon at the top left of the table that looks like a plus inside a box. This will select the entire table.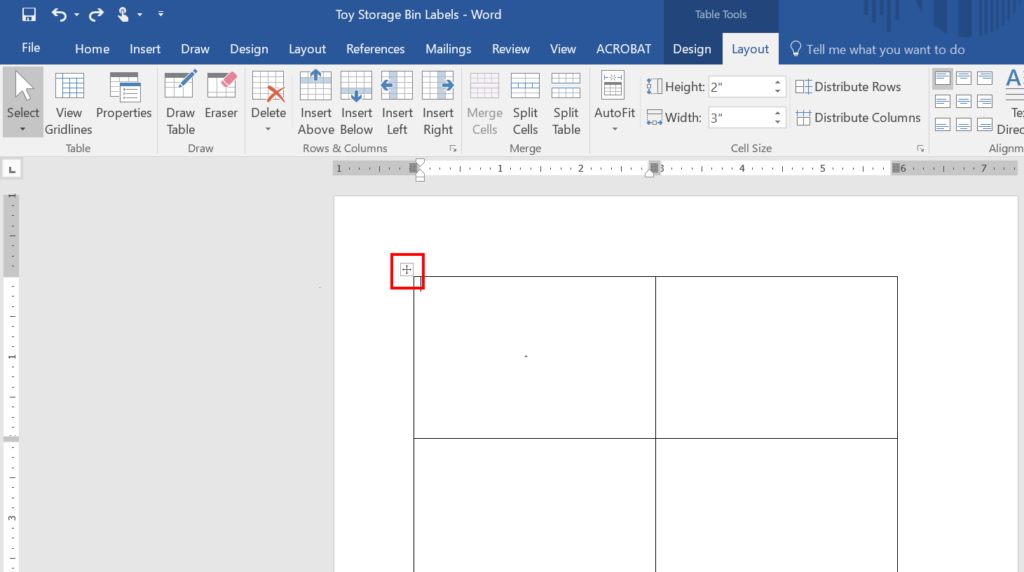
Next, in the table tools, layout menu, find the alignment section and click on the bottom middle square to align the text in the entire table so it’s centered in the bottom.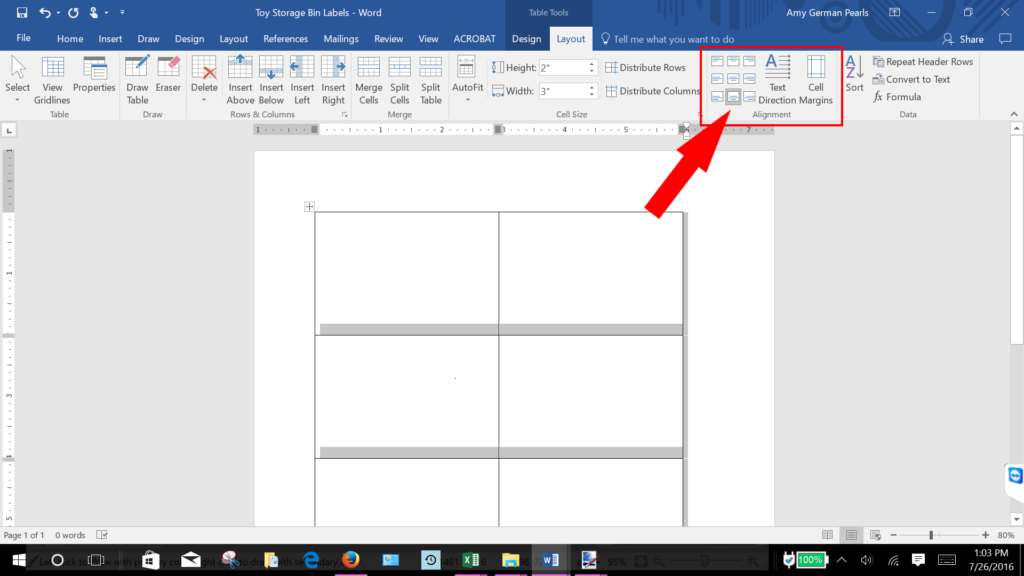
Since the entire table is selected, now is also a good time to select a font, font color and font size. Do this in the font section of the home menu. I chose Century Gothic because I think it’s a nice, easy to read font for little ones. I left the color black, set the font size to 20 and selected bold to make it a bit darker. Don’t worry too much about this as you can always change your selections later.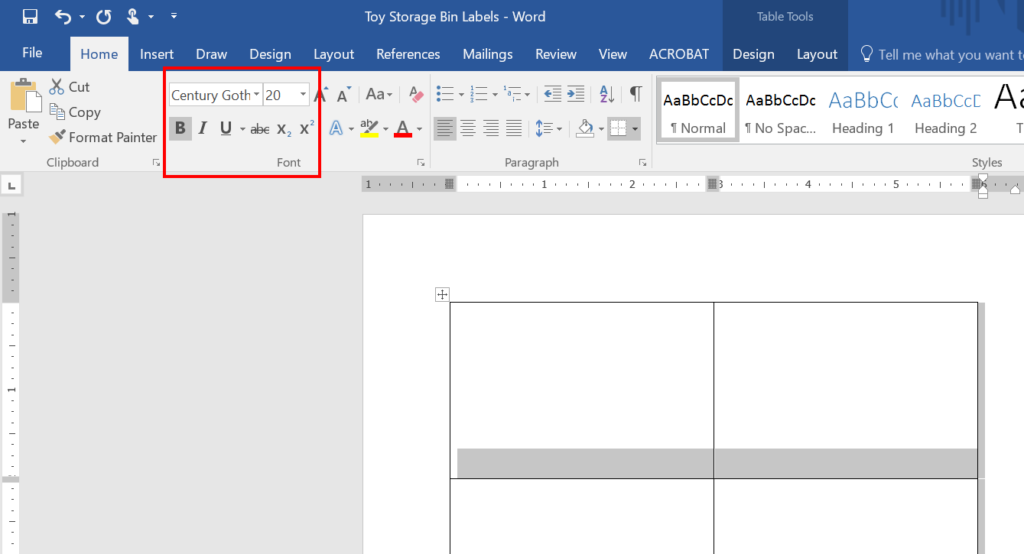
Next click in each cell and type in the words you want to appear on your labels.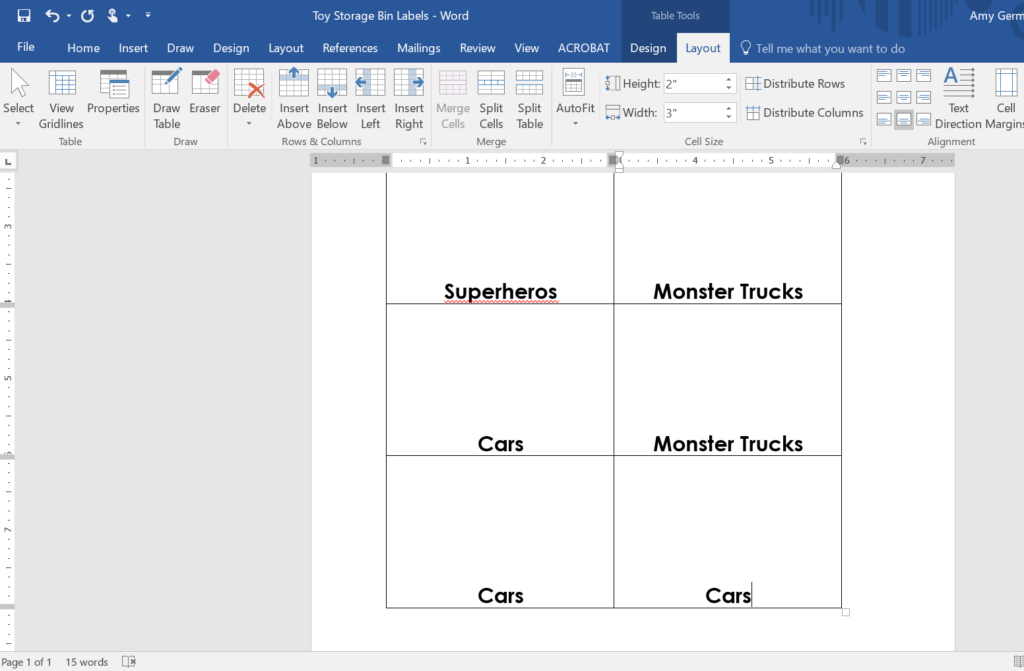
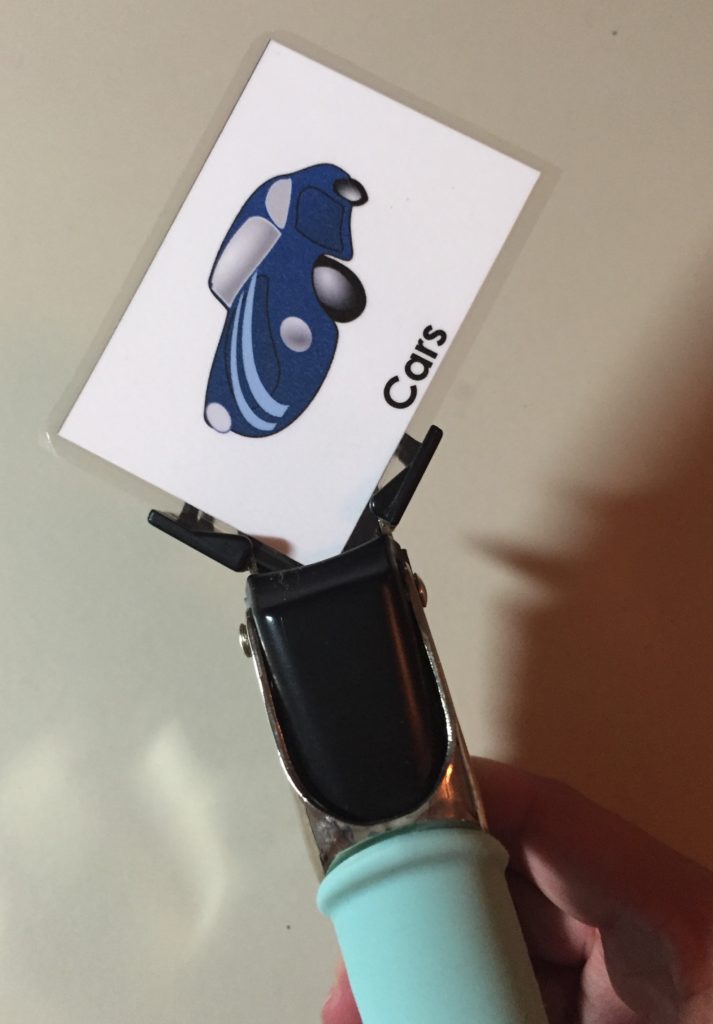
Next let’s add pictures to each label. I want my picture before the words in each label. So, to insert a picture before the cars label click in front of the word cars so your cursor is there. Then, click the enter key twice to add two rows above the word and click the back arrow two times. Your cursor should now be above the word, toward the center of the label.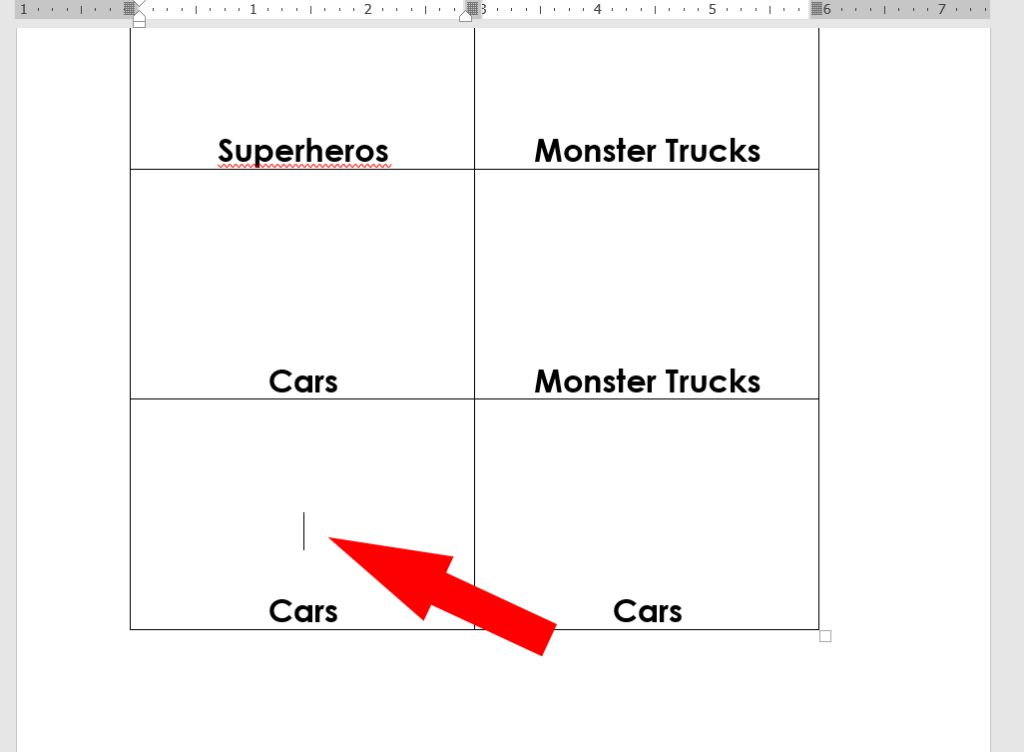
To add a picture to our toy storage bin labels we’re going to use Microsoft Word’s image import function.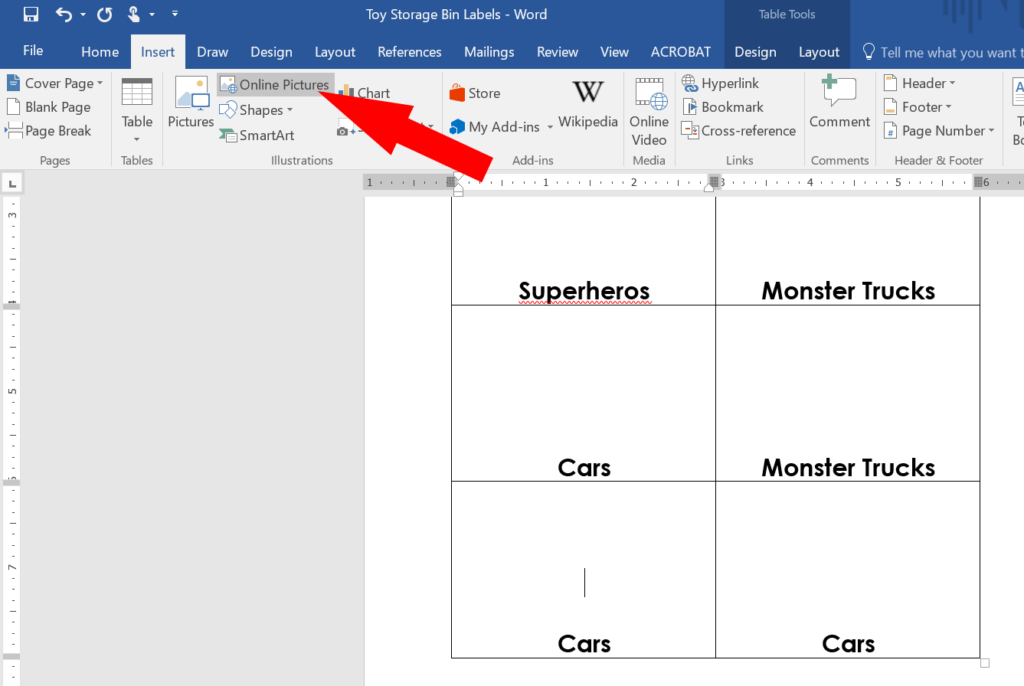
Then type the image you’re searching for and hit enter.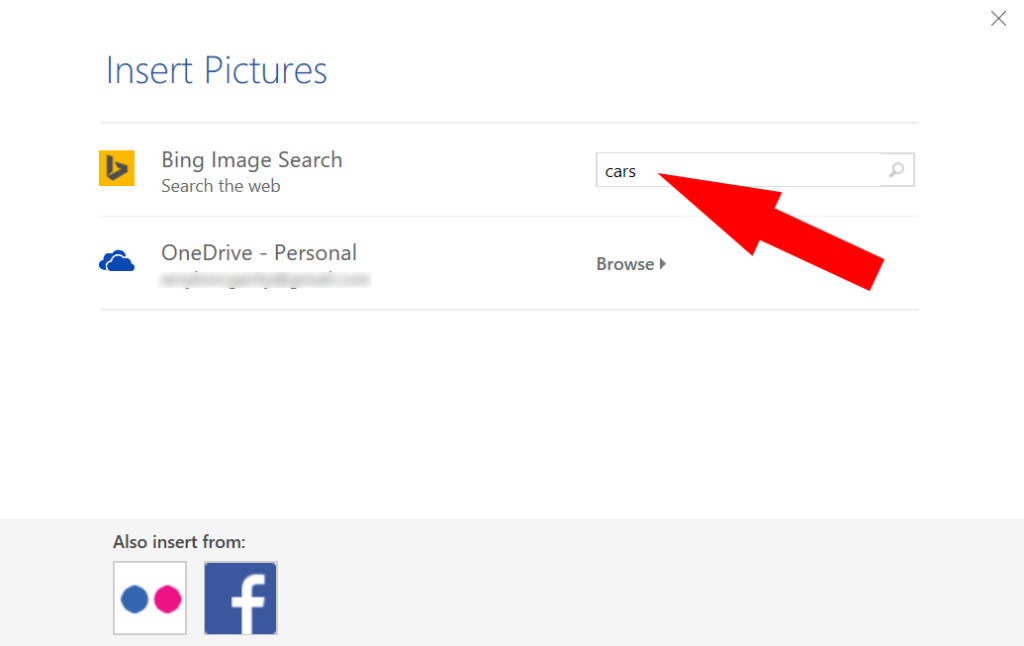
When you find an image you like, click on it to select it and click insert. If the image is too big it may make the size of the label change. To fix this, just click on the image to select it and drag the corner of the image toward the center of the image to make it smaller. Keep reducing the size of the image until the label goes back to its original size.
Continue adding images to each label.
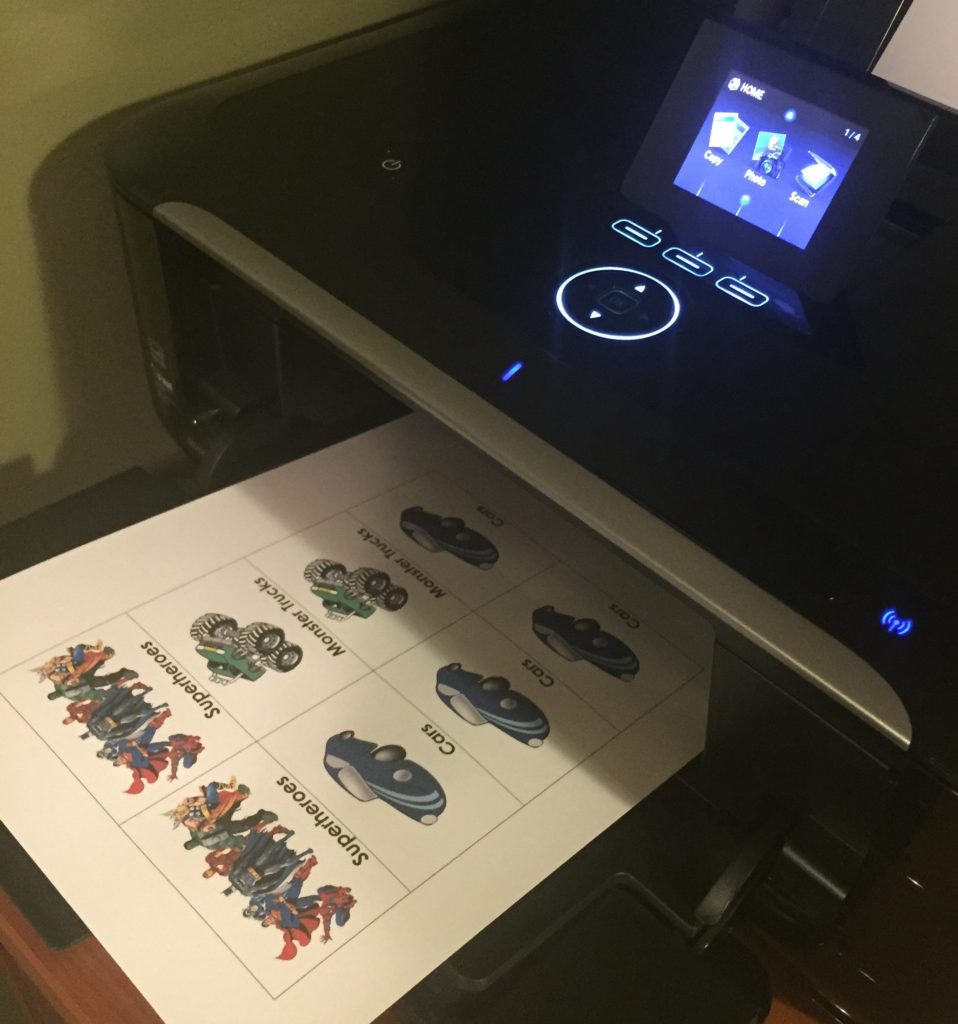
5. Print and Cut Out Labels
Next print out your labels. I chose to print mine on white cardstock, but you could choose any color. Also, I decided to use a cardstock, which is a little thicker than paper, to make the labels a little more substantial. Something like this is nice: white cardstock.
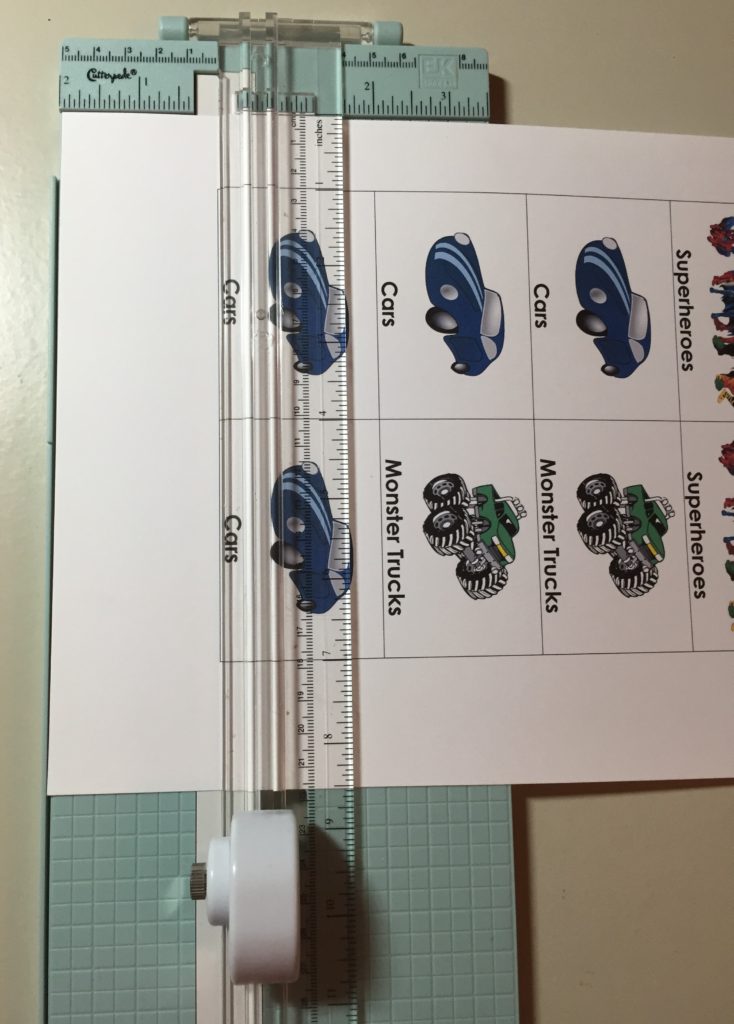
Cut out each label using the printed table borders as a guide. If you don’t have access to a paper cutter (I love this rotary paper trimmer I use for scrapbooking and crafts) you can just use scissors.
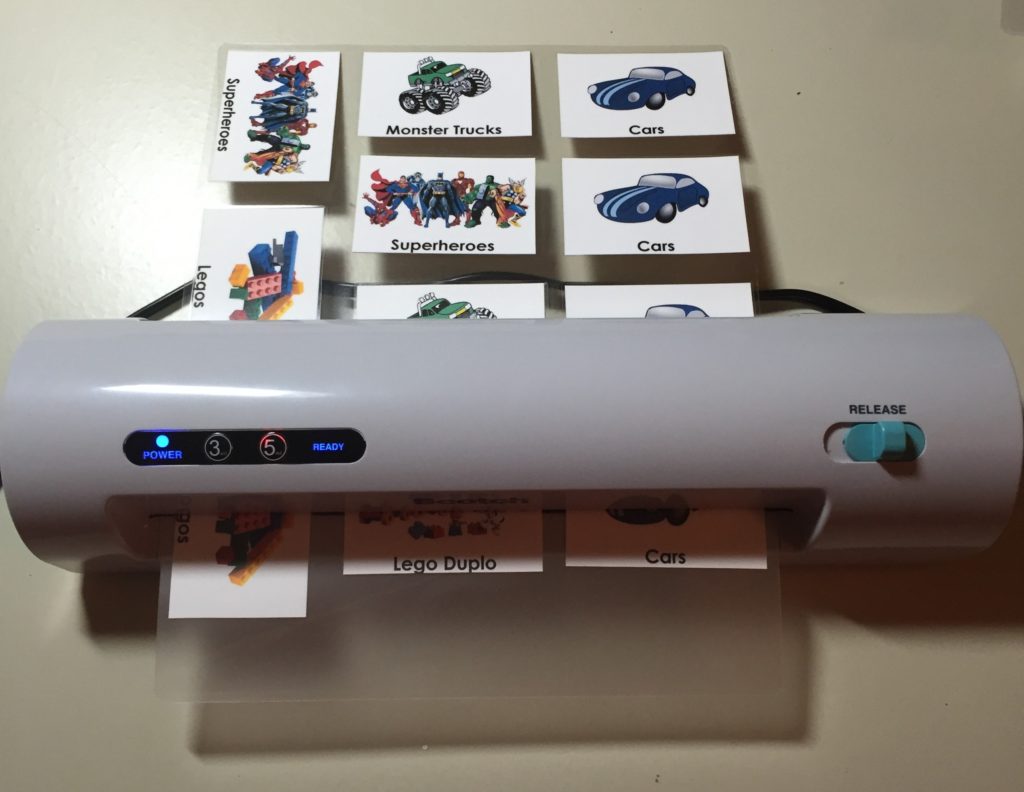
6. Laminate Labels
After cutting out the labels place them in a laminating pouch, with space between each label. Then run the laminating pouch through the laminator (or seal the pouch if you are using the self-laminating sheets). (I love this little laminator. It’s so small and inexpensive but makes things look so professional after you run them through it. They even sell smaller sized label pouches perfect for laminating 4×6 pictures!)
Then cut out the laminated labels using your cutter or scissors.
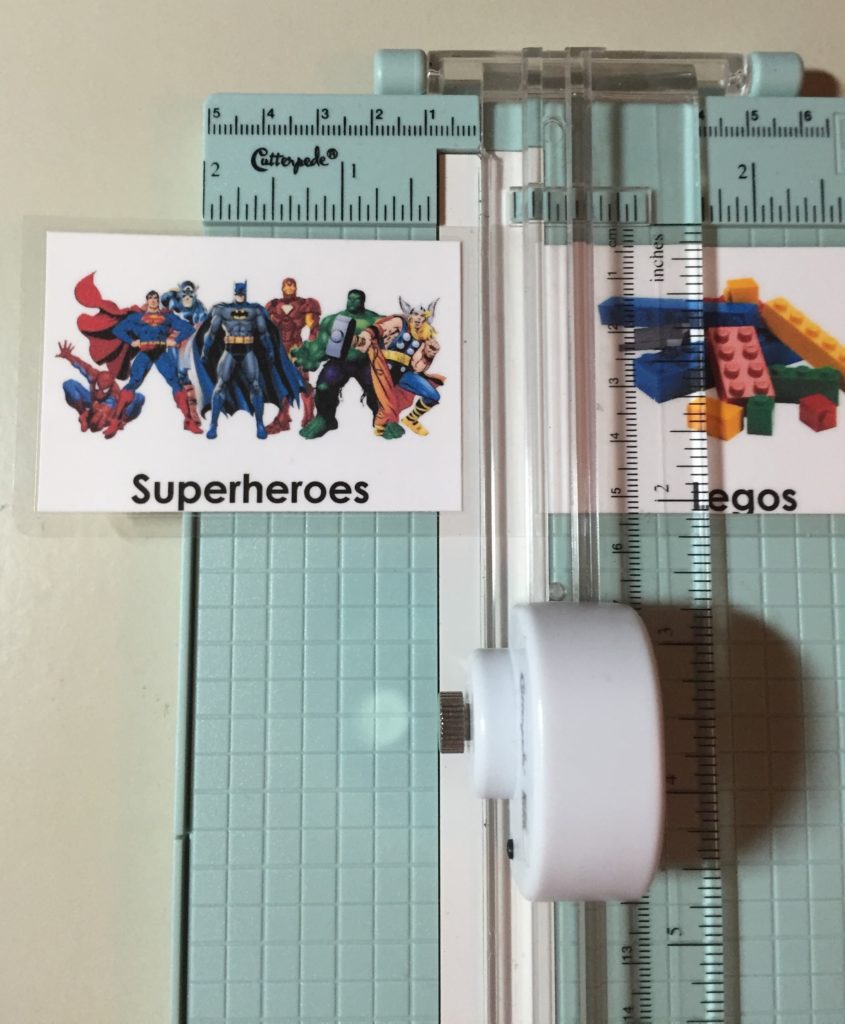
You may also want to round the corners slightly so they’re not sharp. You can do this with scissors or a corner rounder tool. I used my corner rounder since I already had one in my crafting supplies.
7. Affix Laminated Labels to Toy Storage Bins
Lastly we’re going to attach the labels to the toy storage bins. I like to use the Velcro-style command strips so I can remove them cleanly from the storage boxes if I want to. I also think they’re a little stronger than the double sticky velcro tabs.
Whichever adhesive you choose, stick it to the back of the laminated labels and the other side to the toy storage bins.
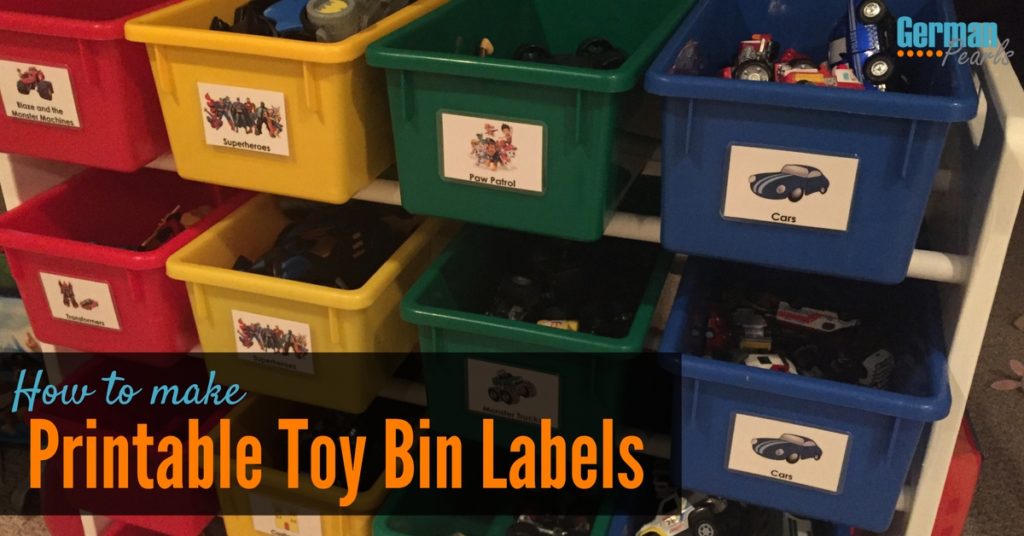
Organize the kids’ toys in the storage bins, label them and sit back to enjoy how organized the kids’ toys are, for a minute at least.
Conclusion
I love how the labels look on our toy storage bins. I also love how it helps teach my little ones to keep things organized themselves. Although, if they get my genes they’ll probably be pretty obsessive about organizing like their mom. Let me know if you have any questions when you’re creating your labels. Leave a comment below so I can help out.
I love the things that you share, thank you sooo much! Intelligent, well thought out and much needed!
Jeanne,
Thank you so much! You just made my day! 🙂
Amy
let me start with the bins…I hunted everywhere for a bin that was boyish, would be useable in other rooms if I got rid of all the toys, was sturdy, had a fun texture, and held a large amount of toys. Let me introduce you to ‘My Favorite Toy Bins’ — found at Target. And right now they’re marked down just a bit.
Great – thanks for the tip!
THANK YOU !!!!!!
This was such an easy project with your instructions. I have started the labels, Now to sort and determine what others I need.
Awesome! Glad the instructions helped.
Yea… Sorting… That’s a lot harder.
Good luck!
Amy