How many phones and devices does your family have? Chances are, more than one. Wouldn’t be nice if you could share apps from one iPhone or iPad to the other? Well, with iPhones and iPads you can. It’s built into iOS and called family sharing. Let’s break down what family sharing is and how it lets you share apps with other family members.

Note: This post may contain affiliate links.
What is Family Sharing?
Share Apps and Purchases with Family Members
Family sharing allows up to six family members to share app store, iTunes music and book purchases. With family sharing each family member has their own iTunes account but they share their app purchases with other family members.
Parental Controls – Set Permissions for Different User Levels
In addition to the app sharing capabilities, family sharing allows you to set up different permissions for different family members. So, you can specify that children must get permission to purchase a new song or app, even free ones. This way you can keep an eye on what apps your kids are getting.
Create Accounts for Kids Under 13
Typically, you need to be 13 to create an iTunes account. But, with family sharing you can create an account for your kids under 13. Their account is automatically setup so they can’t purchase an app without permission from a parent. This is an easy way to setup parental control.
Note: You may also want to check out how to setup parental controls on your iPhone or iPad.
Shared Calendar and Reminders
Keep your family organized and everyone on the same page when you create and share a family calendar. Set time or location based reminders for each other.
Shared Photo Album
When family sharing is set up you also get a shared photo album in your photo stream. Each family member can share pictures to the shared photo stream and all family members have access to the album.
Share your Location
You have the ability to share your locations. Have peace of mind by checking on your kids’ locations through the Find My Friends app. Or, if you prefer more privacy, turn shared locations off.
Find My iPhone
Next time someone cries “I lost my iPhone!” just open the Find My iPhone app and locate their device on a map.
Note: Here are a few settings you should update now to help you recover a lost iPhone.
All Purchases Billed to One Account
When you set up family sharing there is one organizer for the family. All purchases for the whole family are charged to this account. Or, you have the option to add gift cards to users’ accounts or set up an iTunes allowance for a family member.
How to Set Up Family Sharing in iOS
To share apps and purchases with other family members on your iPhone and iPads set up family sharing following the instructions below:
Add Users to Family Sharing
- Decide who is going to be the family organizer
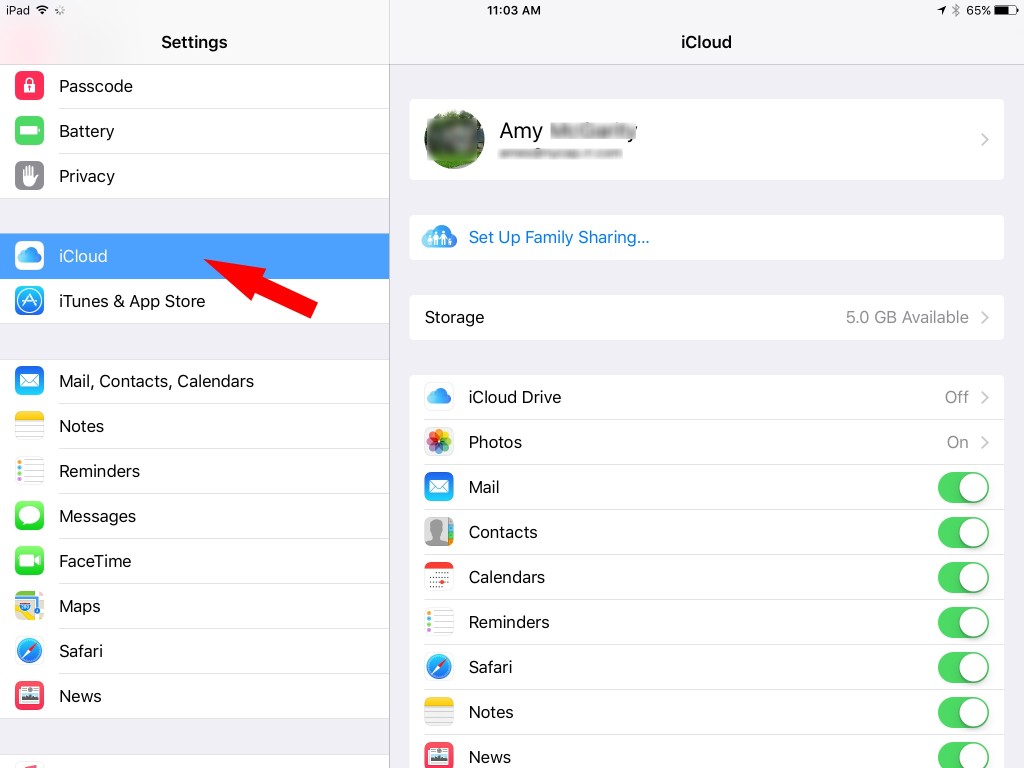
- On the family organizer’s iPhone or iPad go to settings
- Click on iCloud
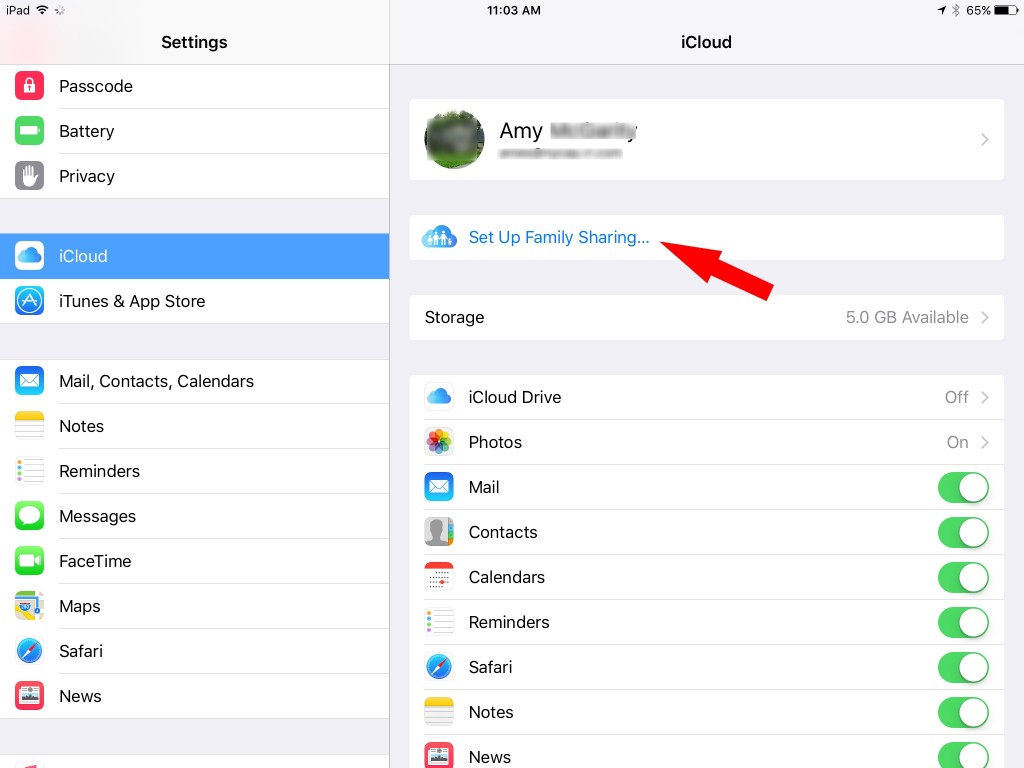
- Click Set up Family Sharing
- Click Get Started
- Click Continue
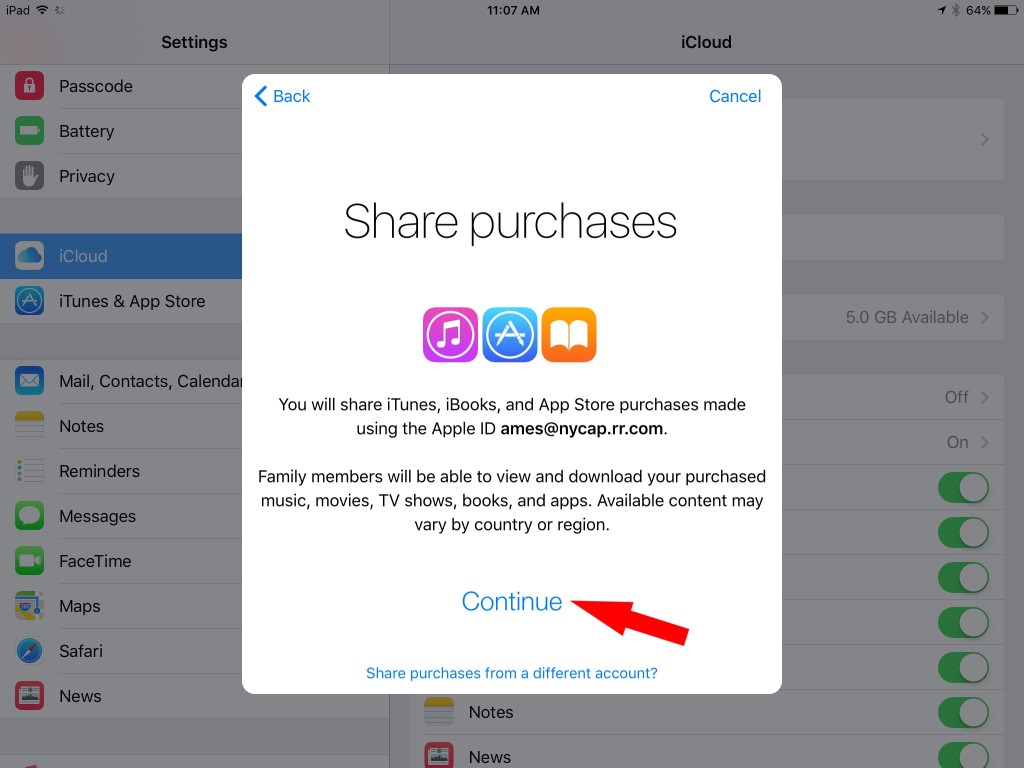
- Click Continue again
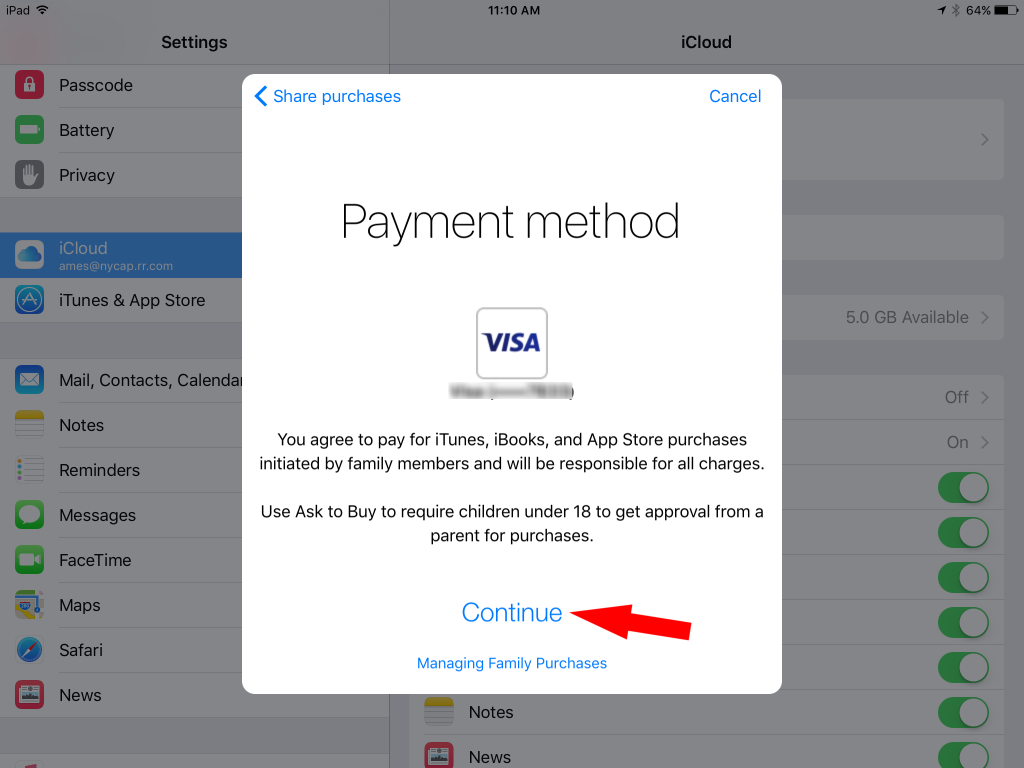
- When asked about payment information click Continue
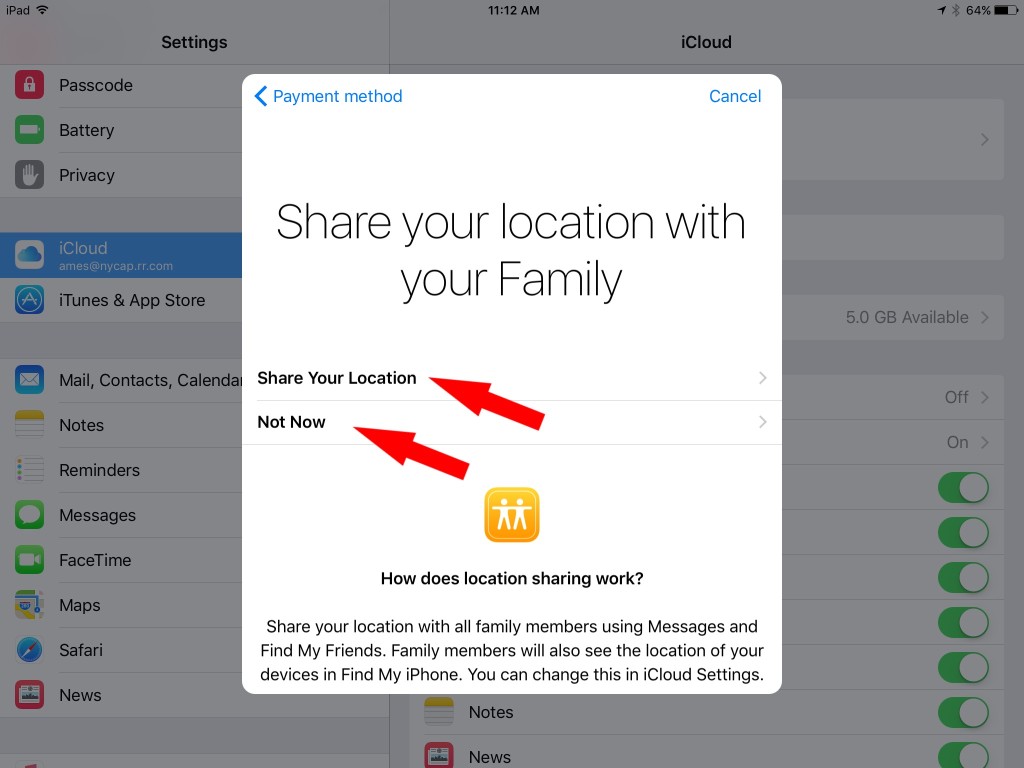
- On the next screen choose whether or not you want to share your location with your family members; Select the option you choose
- Now that family sharing is set up you can add family members
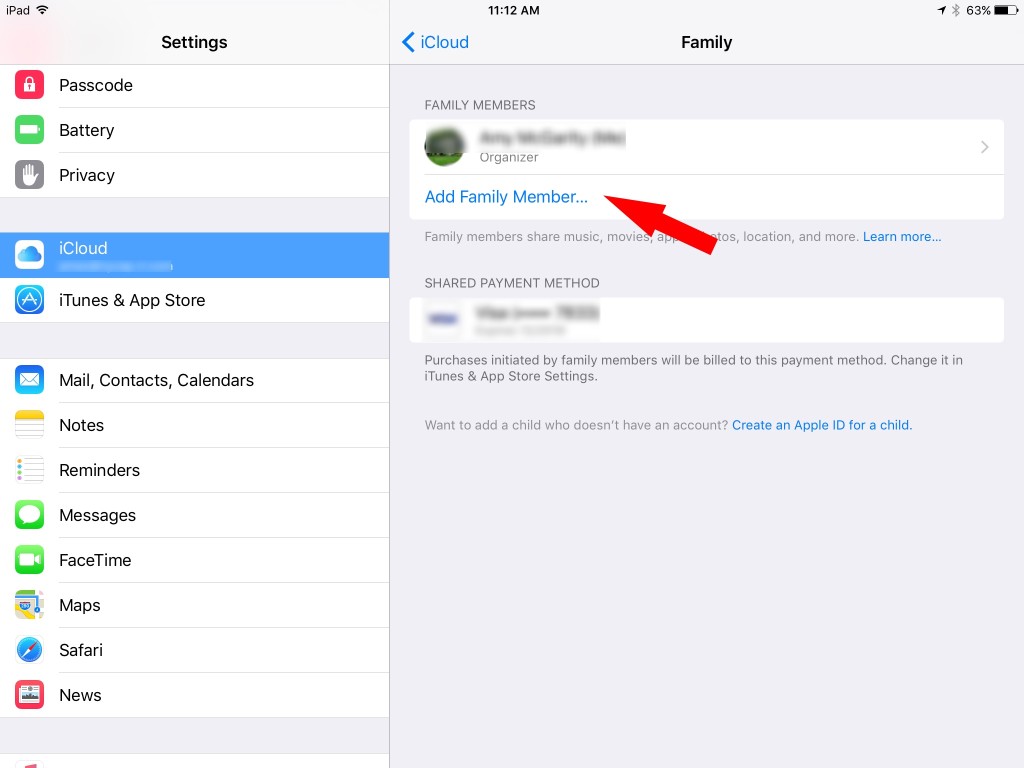
- To add a family member click Add Family Member
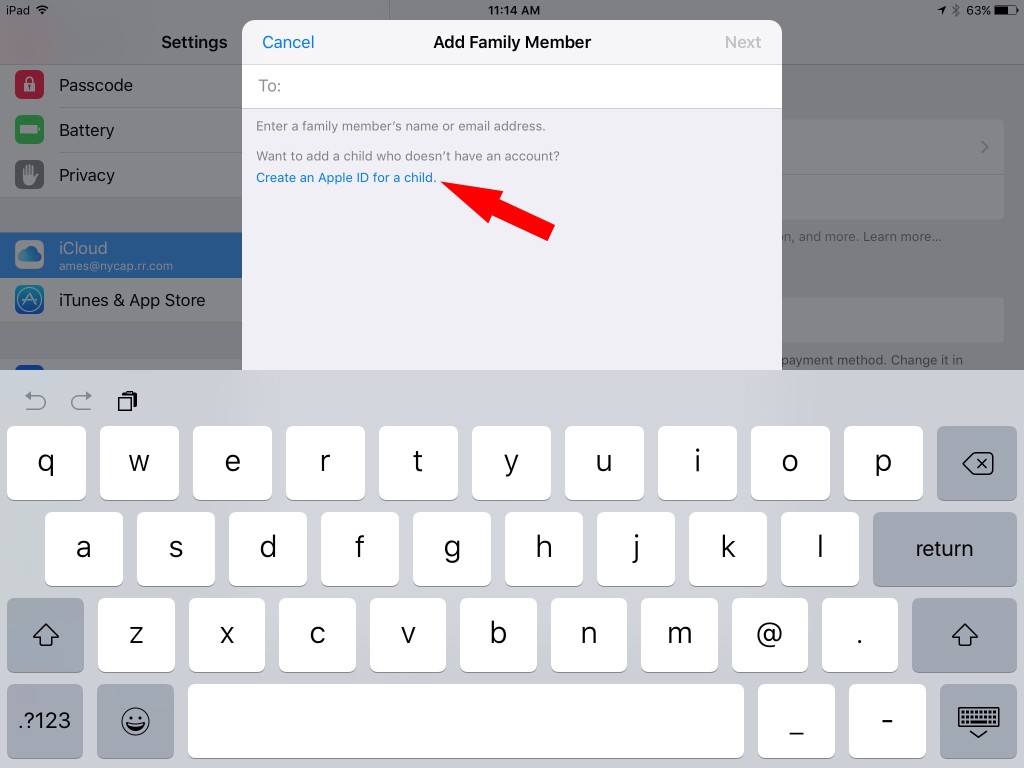
- On the next screen you have two options; You can enter the email address or iTunes ID for a family member that already has an account set up or you can create an account for a child under 13.
- If you enter an existing apple ID this person is added to your family group.
- If you want to set up a child under 13 follow the steps below.
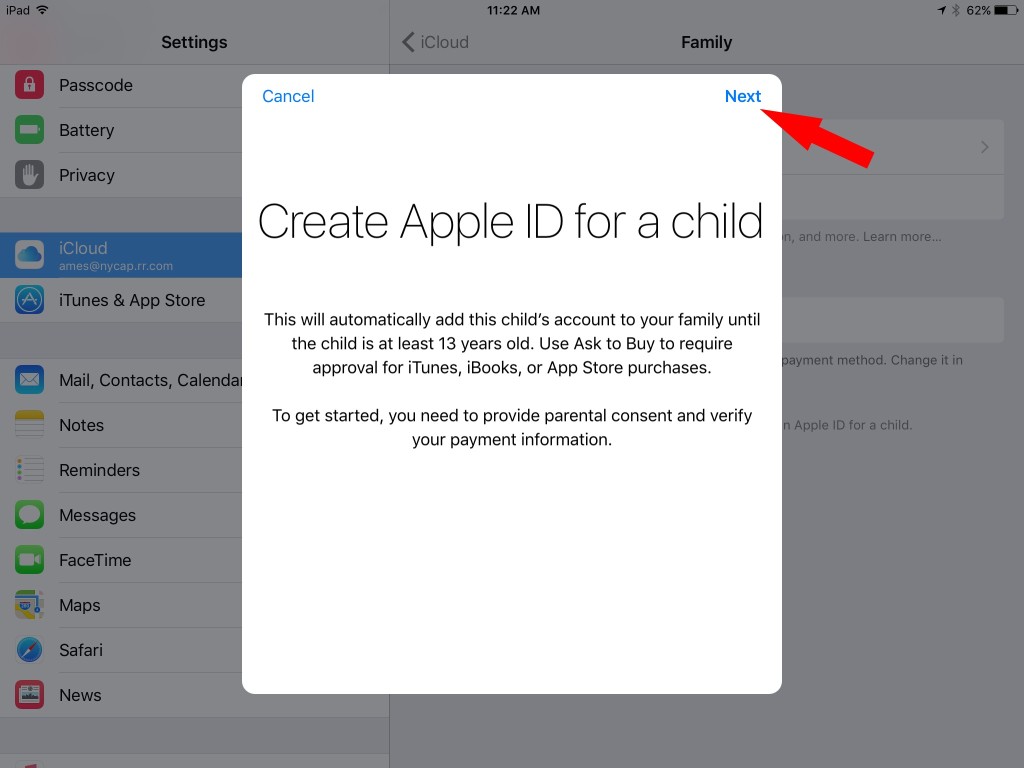
- Select the option and it will guide you through the process; In this example we’ll walk you through how to add a child under 13
- On the first screen click Next
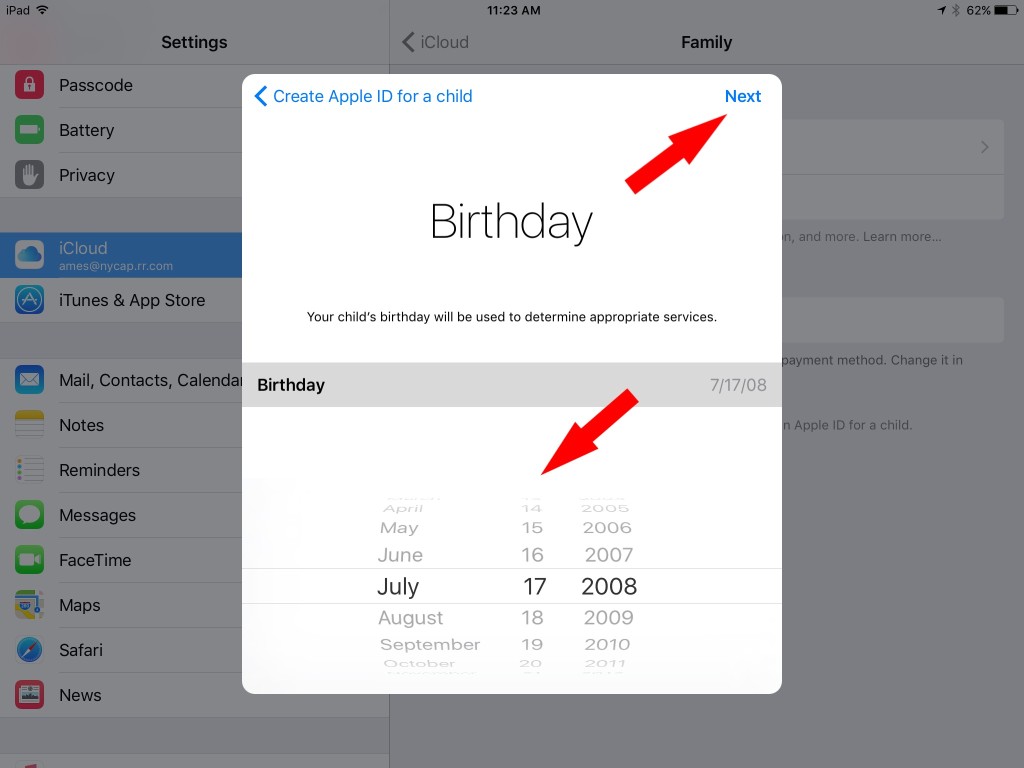
- Select your child’s birthday and click Next
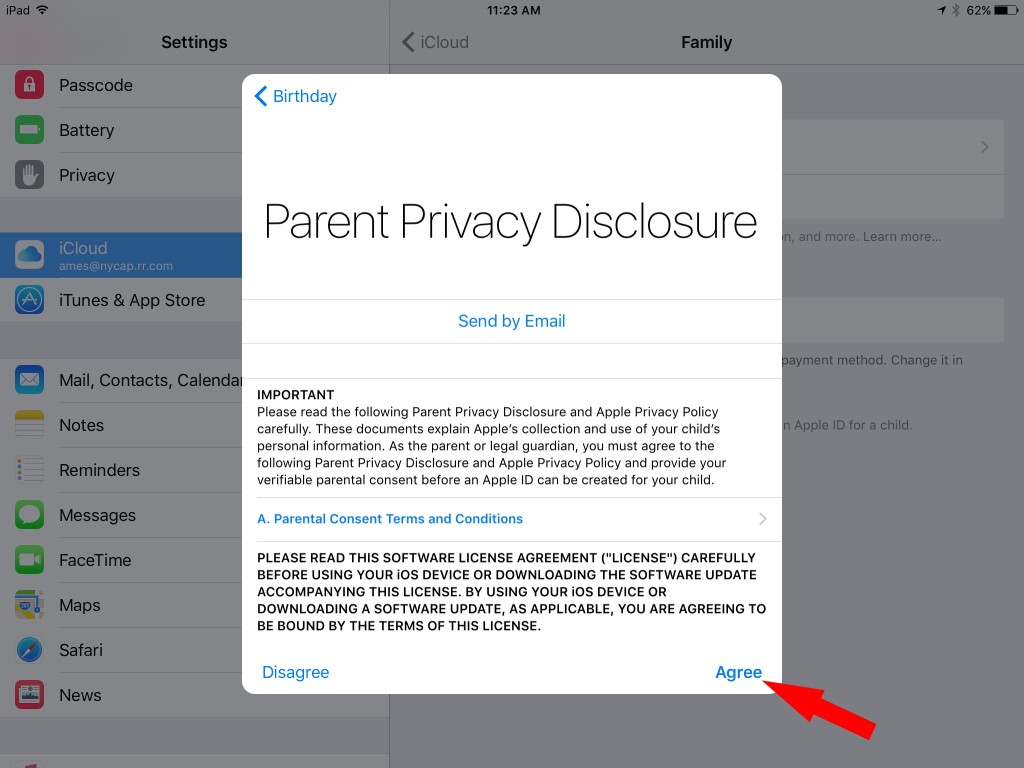
- On the privacy disclosure click Agree
- On the next screen you’ll need to verify you’re the owner of the credit card on the account; Enter the credit card security code and click Next
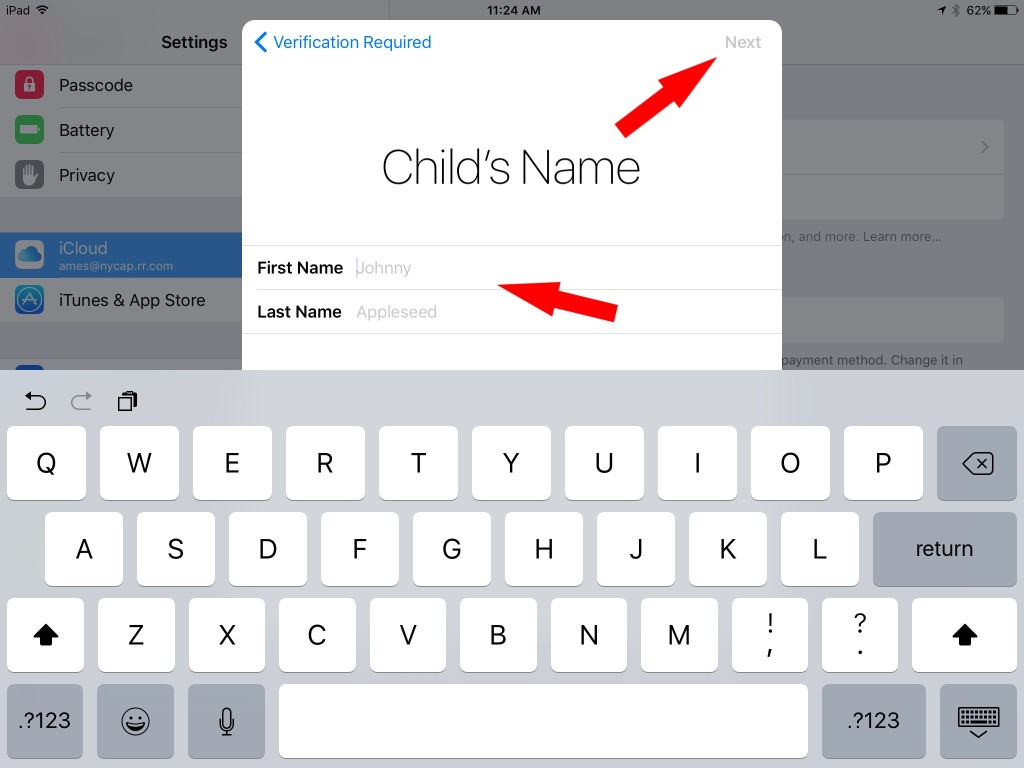
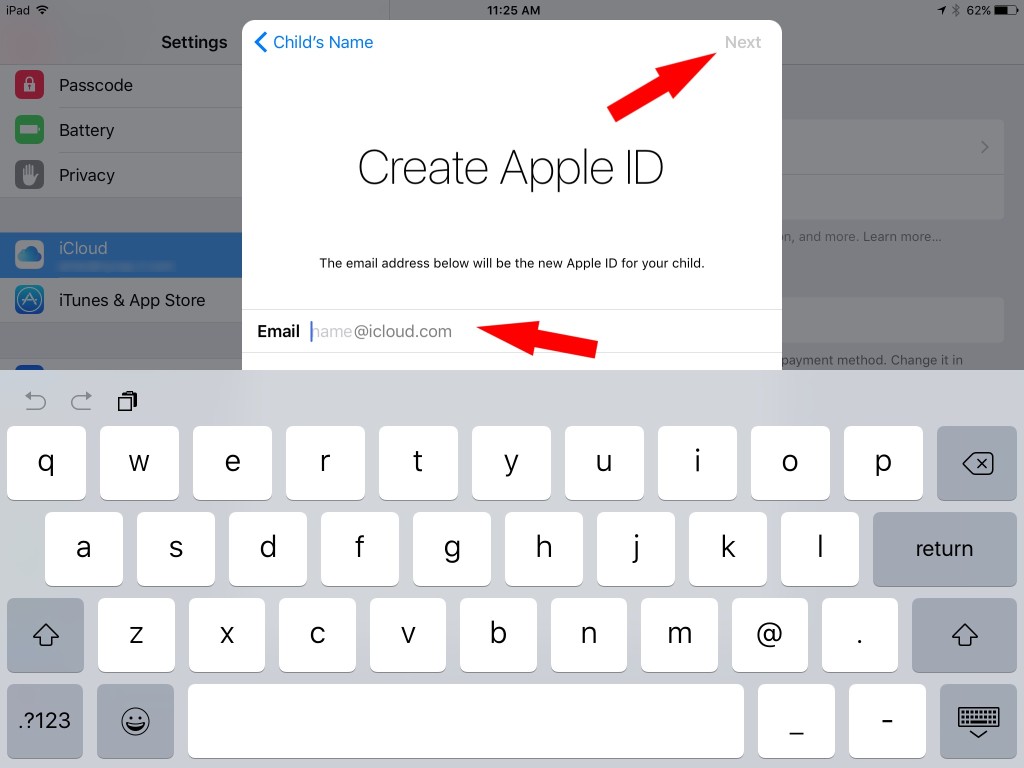
- Enter the child’s name and click Next
- Create an apple ID for your child; If the apple ID is already taken you’ll get a message asking you to choose another ID
- Create a password for the account; This must have at least one capital letter, lowercase letter and number
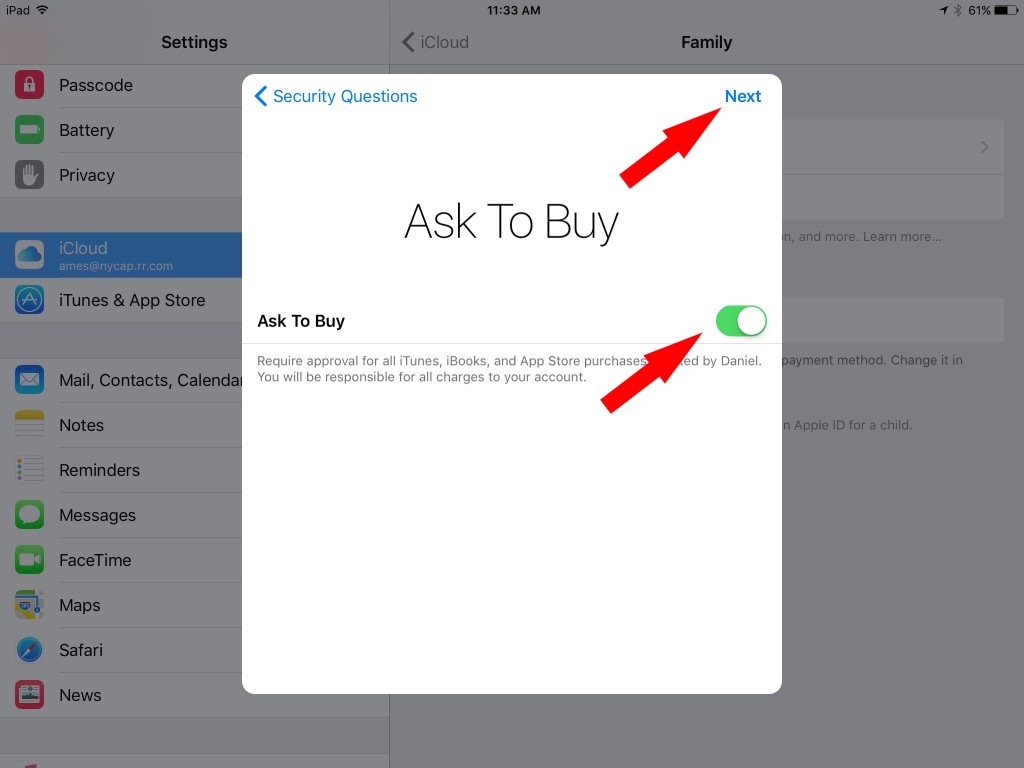
See Also: Get a Free Password Keeper Template in Excel - Do you want to have to approve every purchase for your child? If so, keep ask to buy turned on by making sure this is in the green position
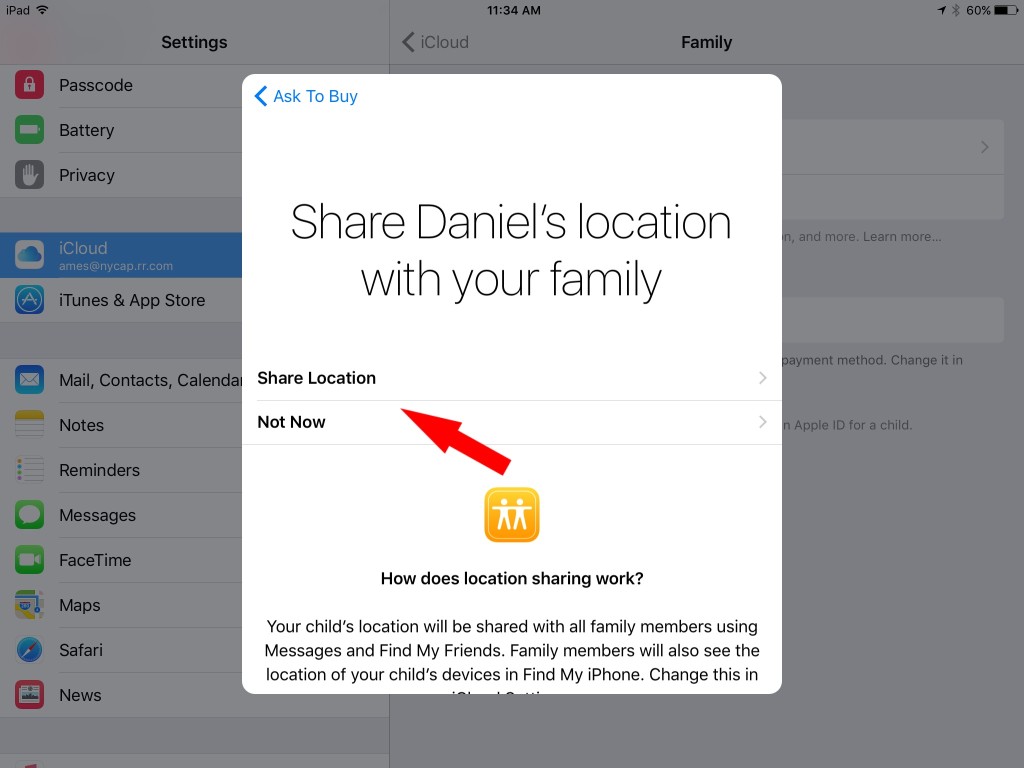
- Do you want your child’s location shared with the family? Select your option in the next screen and click on it
- Click agree on the terms and conditions page
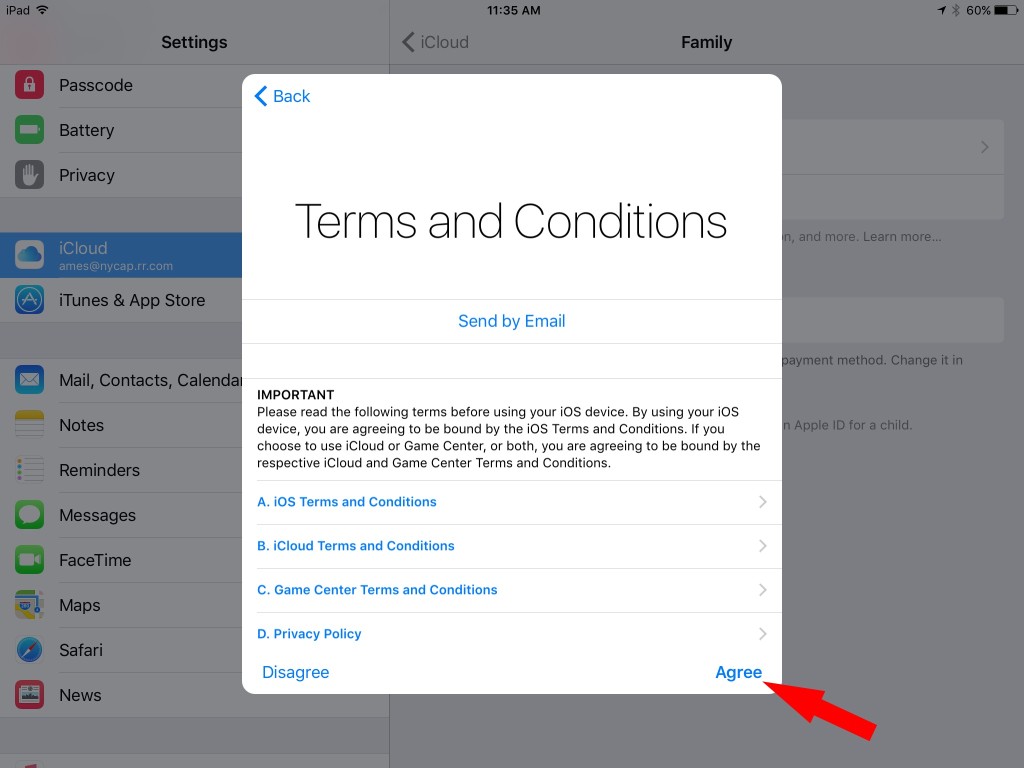
- Click agree again
- You’ll now see your new family member in your family sharing!
Setup a Child’s iPhone, iPod Touch or iPad
Now that you have a new account setup for your child you can sign in to their devices using their new apple ID. If they’re already using a device with your apple ID you’ll want to sign out and back in with their new ID. To do this, go to Settings > iCloud and sign out of the current apple ID. Then sign in with the newly created iTunes ID. If the device was already being used with another account there are several places you’ll need to sign into the new account:
- iCloud (Settings > iCloud)
- iTunes & App Store (Settings > iTunes & App Store)
- Messages (Settings > Messages) – Here you can specify whether you want this account to be able to receive iMessages or not
- Facetime (Settings > Facetime) – set whether or not you want Facetime accessible to this user
Conclusion
Overall Family Sharing seems like a pretty good option. It’s much better to share apps, music and iTunes purchases with other family members than having to buy the same app multiple times. Having one account be responsible for all payments may not be ideal for all users but there are some ways to deal with that problem by adding gift cards to specific users and/or setting up allowances. In my opinion the family sharing option is much better than using your personal apple ID to set up a child’s device.
Reference: Apple
[…] Also, check out our article on apple’s family sharing. […]